
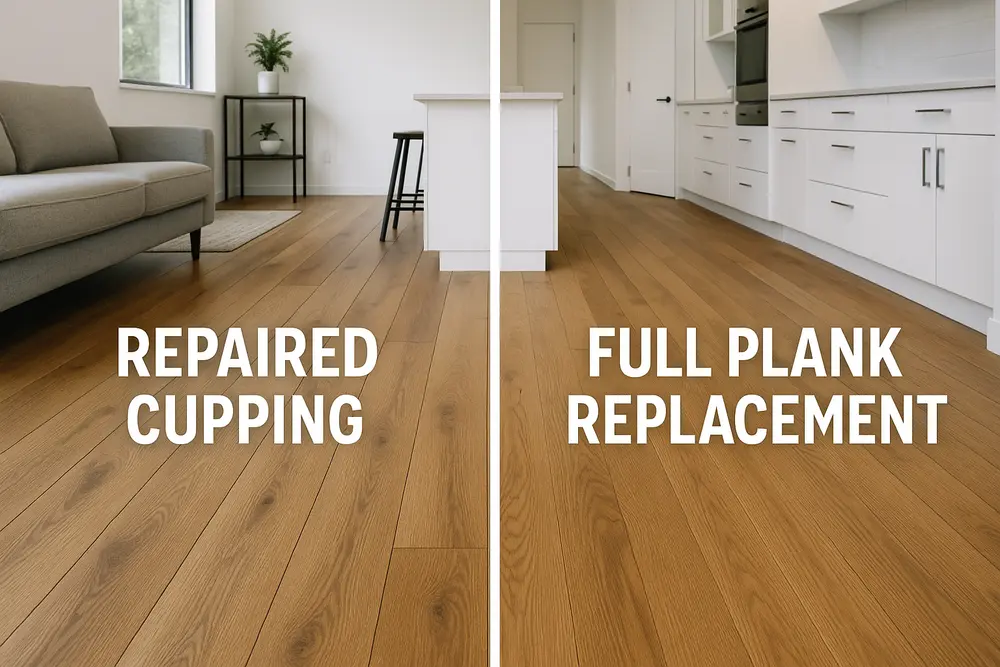
A water-damaged hardwood floor may be saved if the boards and subfloor remain structurally sound and controlled drying returns them to stable moisture conditions. Severe buckling, engineered-floor delamination, contaminated water, damaged subflooring, or distortion that remains after drying makes replacement more likely. The decision shouldn’t be based on how ugly the floor looks on day one. Hardwood can be dramatic when it’s wet, but a moisture meter and a documented drying trend tell us more than raised board edges ever will.
Why Hardwood Floors Cup
Wood is hygroscopic, which means it absorbs and releases moisture as surrounding conditions change. According to the USDA Forest Products Laboratory Wood Handbook, wood expands as it gains moisture below its fiber saturation point and shrinks as it loses that moisture. The movement is much greater across the grain than along the board’s length.
Cupping develops when the underside of a flooring board is wetter than its face. The wetter bottom expands more, causing the edges to rise above the center. That moisture might come from a broken appliance line, a wet subfloor, a damp crawlspace, vapor moving through a concrete slab, floodwater, high indoor humidity, or repeated wet mopping.
The leak doesn’t have to be directly on top of the flooring. We’ve seen floors cup because water traveled beneath cabinets and soaked the subfloor several feet away. We’ve also seen homeowners replace boards only to have the new flooring cup because nobody corrected the damp crawlspace below it. New wood isn’t immune to an old moisture problem.
Cupping also shouldn’t be confused with other forms of distortion. Crowning means the center of a board is higher than its edges. Buckling occurs when boards lift substantially away from the subfloor. Checking and splitting involve cracks in the wood fibers, while delamination occurs when the layers of engineered flooring separate. Those differences matter because ordinary cupping can improve during drying, while broken joints and separated layers generally won’t put themselves back together.
Can a Cupped Floor Flatten Again?
Yes, mild or moderate cupping can diminish after the moisture source is corrected and moisture becomes more even through the boards and subfloor. That doesn’t mean every floor will return to factory-flat condition. It means visible cupping on the first day isn’t enough evidence to order a dumpster.
Imagine a solid oak floor affected by a clean dishwasher supply-line leak. The water is removed quickly, the boards remain fastened, the plywood subfloor is sound, and moisture readings decline during controlled drying. As the underside releases moisture, the board edges may gradually settle. The floor might only need time, selective board repairs, and refinishing after it stabilizes.
Now compare that with a floating engineered floor exposed to water for several days. Its core has swollen, locking joints have broken, and sections feel spongy underfoot. Drying can remove moisture, but it can’t reliably rebuild a swollen core or reconnect failed layers. Replacement is far more likely in that case.
Flattening doesn’t follow a universal schedule. Board thickness, species, width, installation method, subfloor material, indoor humidity, water volume, and drying access all affect the timeline. A floor can look much better before its subfloor is dry, so appearance can’t be the only finish line.
How Moisture Content Thresholds Work
Moisture content thresholds are often treated as if there’s one magic percentage separating repair from replacement. There isn’t. Anyone who declares a floor ruined solely because a meter displayed 12, 15, or 20 percent is skipping most of the diagnosis.
A reading of 12 percent could be close to normal in one building and significantly elevated in another. It might reflect the finish flooring while the subfloor is considerably wetter. It could also be affected by wood species, meter settings, metal fasteners, conductive materials, measurement depth, or poor meter placement.
The USDA’s approximate fiber saturation point of 30 percent is another figure that gets misused. It’s a wood-science concept describing moisture behavior, not a demolition threshold. A board doesn’t cross 30 percent and suddenly receive an eviction notice.
A useful assessment compares the affected flooring with unaffected flooring of the same type, the subfloor, nearby structural materials, and indoor temperature and relative humidity. Technicians also need repeated readings from the same locations. The direction of the readings matters as much as the numbers themselves.
The National Wood Flooring Association commonly cites installation benchmarks in which the moisture difference between wood flooring and a wood subfloor should generally be no more than 4 percentage points for strip flooring under 3 inches wide and 2 percentage points for flooring 3 inches wide or wider. These are installation and acclimation benchmarks. They provide useful context during restoration, but they aren’t automatic hardwood cupping repair or replacement rules.
For example, a 5-inch board reading 11 percent over a subfloor reading 18 percent still has a substantial moisture imbalance. A surface measurement by itself would miss the wetter material below. By contrast, flooring and subfloor readings that steadily approach the home’s unaffected dry standard show that the assembly is moving toward balance.
How Professionals Test the Floor
Professional moisture testing is a process, not a quick meter beep near the refrigerator. The inspection starts with the water source, the likely duration of exposure, and the path the water traveled. The technician should identify whether the flooring is solid or engineered, how it’s installed, and whether moisture may be trapped in underlayment, adhesive, insulation, a slab, or a wood subfloor.
Pinless moisture meters are useful for scanning broad areas and developing a moisture map. Their effective depth varies, and readings can be influenced by density changes, fasteners, and materials below the flooring. Pin meters use probes to evaluate wood at specific points and, with suitable probes, at selected depths. They leave small holes and may require species and temperature corrections.
No meter should be treated as an all-seeing oracle. A restoration technician may use a pinless meter to locate suspicious areas, verify selected points with a pin meter, inspect from below when access exists, and compare the results with unaffected materials.
Moisture mapping adds accountability. Technicians establish measurement points and record the readings during follow-up visits. That history shows whether the wet area is shrinking, whether a pocket beneath a cabinet remains wet, and whether the floor is approaching a stable dry goal. It also catches rebounds after equipment changes or HVAC interruptions.
Environmental readings matter too. At roughly 70 degrees Fahrenheit, the USDA Wood Handbook lists representative equilibrium moisture content levels of about 6 percent at 30 percent relative humidity, 9 percent at 50 percent relative humidity, and 12 percent at 65 percent relative humidity. Those examples show why indoor conditions matter. A floor seeks balance with the air around it, so the expected dry range isn’t identical in every building.
What Controlled Drying Looks Like
Controlled drying starts by stopping the moisture source. Running equipment while a pipe is still leaking is less restoration and more expensive indoor weather. Standing water should be extracted, affected areas should be mapped, and the water’s contamination level should be evaluated before a drying plan is selected.
Depending on the assembly, drying may involve dehumidifiers, carefully positioned air movers, floor-drying panels, drying mats, tented systems, or access from a basement or crawlspace. Wet insulation or another material blocking evaporation may need to be removed. Sometimes trim or a limited number of boards must be lifted to reach trapped moisture.
Equipment selection isn’t a contest to see how much hot air can be aimed at the floor. Excessive heat or uncontrolled airflow can create steep moisture gradients, shrinkage, checking, or cracking. The goal is to move moisture out of the full assembly at a controlled rate, not to make the surface feel dry while water remains below it.
Principles in the ANSI/IICRC S500 water-restoration standard support identifying the water source, evaluating contamination and affected materials, documenting drying, and adjusting methods to the building assembly. A nail-down solid floor over plywood won’t necessarily need the same approach as glue-down engineered flooring over concrete.
The EPA recommends drying wet materials within 24 to 48 hours when possible to reduce the chance of mold growth. That’s a reason to act quickly, not an automatic replacement deadline. A floor wet for longer than 48 hours requires closer evaluation of microbial growth, contamination, hidden moisture, and cleaning access. It isn’t automatically unsalvageable at hour 49.
Signs Repair Is More Likely
Hardwood cupping repair becomes a reasonable option when the moisture source was relatively clean and stopped quickly, the boards remain securely attached, and the subfloor is structurally sound. Mild to moderate cupping that decreases while readings decline is much more encouraging than severe distortion that doesn’t change after the assembly stabilizes.
The wood should also be free from major splits, crushed edges, broken tongues, failed locking joints, and widespread microbial deterioration. A solid hardwood floor with enough usable thickness may later be sanded and refinished. A few damaged boards can sometimes be replaced while most of the original floor remains in place.
Repair doesn’t always mean every board survives. Suppose a refrigerator line wets 150 square feet of oak flooring, but only four boards next to the appliance split. Controlled drying may save the larger field while those four boards receive selective replacement. That’s still a restoration outcome, and it’s often less disruptive than removing the entire room.
Signs Replacement Is More Likely
Replacement becomes more likely when boards buckle away from the subfloor, fasteners pull through the wood, adhesive releases, or tongues and grooves break. Severe splitting, twisting, crushed edges, and permanent cupping after stable drying are also poor candidates for cosmetic repair.
The condition below the finished floor can settle the question. Plywood that has delaminated, swollen oriented strand board with reduced fastener-holding strength, rot, or a persistently wet assembly may require flooring removal. A pretty board sitting over a failing subfloor isn’t a successful repair.
Contamination can also make removal the safer and more practical choice. Sewage, contaminated floodwater, long-standing microbial growth, or chemical exposure may reach spaces beneath tightly installed boards that can’t be adequately cleaned. Wiping the visible surface doesn’t address contamination trapped in seams, underlayment, adhesive, or subflooring.
| Condition | Repair More Likely | Replacement More Likely |
|---|---|---|
| Water source | Clean water stopped promptly | Sewage, floodwater, or unknown contamination |
| Board shape | Mild cupping that improves | Severe buckling or persistent distortion |
| Attachment | Boards remain secure | Fastener, adhesive, or joint failure |
| Subfloor | Sound and drying steadily | Swollen, delaminated, rotten, or inaccessible |
| Moisture trend | Readings approach the dry standard | Readings remain high or rebound |
| Engineered flooring | Layers and core remain intact | Core swelling or delamination |
| Wood condition | No major cracks or broken joints | Splitting, crushing, or broken connections |
This table is a diagnostic framework, not a substitute for an on-site inspection. A floor can have repairable boards and an unsalvageable subfloor, or it can need selective replacement without requiring every room to be torn out.
Solid vs Engineered Hardwood
Solid hardwood often has a better chance of surviving water exposure because each board is one piece of wood and usually contains more material for future sanding. It may flatten substantially after moisture correction, provided it remains attached and hasn’t split or buckled severely.
Engineered hardwood is built from multiple layers. That construction improves dimensional stability under ordinary humidity changes, but saturation can affect the core, bonding adhesives, locking system, and thin surface veneer. A floor may appear only slightly cupped while internal layers are separating.
Sanding limitations are another concern. Some engineered products have a veneer too thin for aggressive sanding, especially if they’ve already been refinished. Once a core swells or layers delaminate, drying may stop further damage but won’t reliably restore the original construction.
Installation method changes the inspection as well. Nail-down floors require checks for subfloor condition and fastener security. Glue-down flooring can trap moisture over a slab or lose its adhesive bond. Floating floors may hold water in the underlayment while swollen locking joints lift or break.
Why Sanding a Wet Floor Backfires
Sanding isn’t the first step in hardwood cupping repair. It’s one of the last steps, and sometimes it isn’t needed at all. A still-wet cupped board has raised edges because its underside contains more moisture than its face. If those edges are sanded flat immediately, the board can continue changing shape as it dries.
Once moisture equalizes, the sanded edges may shrink and settle below the center. The floor that started cupped then becomes crowned. At that point, the attempted shortcut has removed usable wood and created another distortion problem.
The proper sequence is to stop the moisture source, dry the flooring and subfloor, monitor readings, and allow the dimensions to stabilize. Only then should a flooring professional determine whether screening, recoating, sanding, refinishing, or selected board replacement is appropriate.
What Homeowners Should Do First
Remove standing water promptly if it can be done safely, and stop the source when possible. Avoid wet-mopping the area, covering it with rugs, or assuming household fans will dry moisture trapped below the boards. Uncontrolled airflow alone may dry the surface faster than the underside and increase the moisture gradient.
Don’t pry up boards solely because their edges rose overnight, and don’t let anyone install replacement flooring before the subfloor, slab, crawlspace, or humidity problem has been corrected. The EPA’s moisture-control guidance warns that materials can look dry while concealed parts of the assembly remain wet.
Photograph the affected rooms, note when the water was discovered, and preserve information about the source. If the leak involved sewage, floodwater, electrical hazards, or a ceiling that may be unstable, keep people out of the affected area and contact qualified help.
Common Questions About Cupped Floors
Can Cupped Hardwood Floors Go Back to Normal?
Sometimes. Mild or moderate cupping may decrease after the source is corrected and the flooring and subfloor reach stable moisture levels. Severe buckling, broken joints, splitting, or engineered-floor delamination is less likely to recover.
How Long Does a Cupped Floor Take to Flatten?
There’s no dependable universal timeline. The answer depends on flooring type, board width, subfloor construction, water volume, humidity, installation method, and access for drying. Refinishing should wait until measurements and board dimensions are stable.
What Moisture Level Is Too High?
No single moisture percentage applies to every hardwood floor. A meaningful assessment compares affected boards with unaffected flooring, the subfloor, indoor conditions, and readings collected over time. A number without that context doesn’t decide repair or replacement.
Can Hardwood Cupping Be Sanded Out?
It may be possible after the floor has dried and stabilized, provided enough usable wood or veneer remains. Sanding while the floor is wet can cause crowning as the boards continue to dry.
Does Buckled Hardwood Need Replacement?
Buckling is more serious than ordinary cupping because the floor has lifted away from its support. A small area may sometimes be repaired, but broken joints, failed fasteners, released adhesive, or damaged subflooring often require replacement.
Does the Subfloor Need Moisture Testing?
Yes. Finished hardwood can feel dry while the subfloor remains wet. Moisture below the boards can cause cupping to return, support microbial growth, and damage repaired or newly installed flooring.
Have the Full Floor Assembly Tested
The practical question isn’t simply whether the board surface is dry. It’s whether the flooring, underlayment, subfloor, and nearby building materials are drying together and approaching the property’s normal dry standard. That takes moisture mapping, repeat measurements, contamination evaluation, and a close look at structural condition.
Austin Hi-Tech Restoration can inspect water-damaged hardwood flooring and the materials beneath it, document moisture conditions, and develop an appropriate drying plan. We won’t promise that every cupped floor can be saved before seeing it, and we’d be skeptical of anyone who does. An on-site inspection is the right place to determine whether controlled drying, selective hardwood cupping repair, refinishing, or replacement fits the actual damage.