If your laminate plank is starting to hump like a speed bump and the house smells like a wet sock convention, you might be dealing with laminate flooring mold. Floating floors are great at hiding ugly things, and mold is their favorite roommate. I restore homes for a living, which means I’ve seen every flavor of “uh-oh” lurking under floors. Here’s how to sniff it out, clean it up the right way, and lock it out for good by fixing subfloor moisture problems at the source.
Why Laminate Hides Trouble
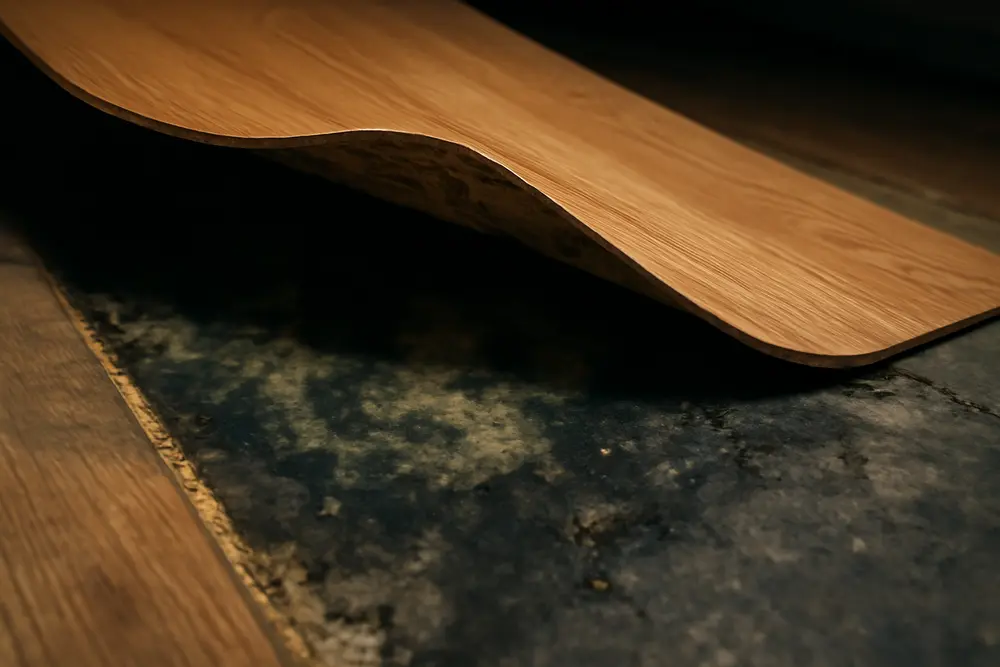
Laminate is a floating floor. It clicks together over an underlayment and sits on top of a wood subfloor or a concrete slab. No fasteners, no glue, just a tidy sandwich of materials that traps air. If water sneaks in from a spill, a leak, or vapor drive coming up through a slab, it can sit under the laminate and feed mold without showing much on the surface. You might notice a faint musty odor, swollen edges, or a little cupping, but the real party is happening underneath where you can’t see it.
The fix isn’t just ripping out the ugly. If you don’t measure and control subfloor moisture, you’ll be doing the same dance again in a few months. Mold is patient. It will wait for your next plumbing drip and then clock back in.
How To Spot Mold Under Laminate
Your nose is better than you think. A persistent musty odor that gets stronger near the floor or along baseboards is round-one evidence. Next, look for edges that are chipping, seams that are lifting, and boards that feel spongey. Brown or black discoloration bleeding through at joints or at door transitions is another red flag.
Don’t rely on vibes to confirm a moisture problem. Use tools:
- Non-invasive moisture meters can scan the surface to find elevated readings. They’re great for quick passes across a room.
- Pin-type wood meters measure moisture content in a wood subfloor. For wood substrates, you want readings at or below about 12 percent moisture content before reinstalling flooring. Sources in the flooring trade consistently target 10 to 12 percent for wood subfloors, depending on brand requirements.
- Concrete is a different beast. If you suspect slab moisture, use proper tests: ASTM F2170 in-situ RH probes or ASTM F1869 calcium chloride tests. For many laminate products, the typical pre-install target is 75 percent RH by F2170 or 3 lbs per 1,000 sq ft per 24 hours by F1869. See guidance from BuildDirect and summarized tips on subfloor testing at FlooringMaestro.
For a clean peek, pop off a baseboard or a threshold strip in a discreet spot and slide a thin inspection mirror or borescope under the plank. You can also carefully unlock and lift a single board near a suspect seam if you know how to reassemble it, but do this only after you contain the area if mold is confirmed. More on that in a second.
If this moisture mystery started after a flood, you’ll want to trace hidden pathways in walls and subfloors too. Austin Hi-Tech’s guide on drying out your home after a flood explains how water wicks into places you didn’t invite it.
When Do You Need Remediation?
If the affected area is truly small, like a few square feet around a one-time spill that dried quickly, you may be able to handle it with minimal PPE and local cleaning. When the moldy or water-damaged footprint grows to a closet, hallway, or a room, containment and a proper removal plan are the difference between “problem solved” and “spores everywhere.” The U.S. EPA’s mold guidance breaks projects into small, limited, and large categories. Generally, 10 to 100 square feet calls for limited containment, and anything larger or risk-prone calls for full containment with negative pressure. You can read the specifics in the EPA’s chapter on containment and PPE here.
It is time to call a pro if any of these are true: there’s visible mold under multiple boards, the subfloor is wet and won’t dry fast, the source is sewage or contaminated water, someone in the home is sensitive to mold, or the affected area is larger than a patch job. Big or complex projects are not great places to learn negative-air setup by trial and error.
Safe Containment And Removal
If you confirmed or strongly suspect laminate flooring mold, treat it seriously and avoid spreading spores. Here’s how to keep it safe and effective while you dismantle the mess.
Set Up Containment
Seal off the work zone with 6-mil poly sheeting taped to walls and ceilings. Close and tape HVAC registers serving the space. For 10 to 100 square feet, EPA describes limited containment as a single layer of poly at the work area with a slit entry and adequate sealing of surrounding openings. For anything larger than 100 square feet or when there’s a high risk of cross-contamination, set up full containment with an airlock entry and use a negative air machine exhausting outdoors to keep air flowing into the workspace, not out of it. See the EPA steps for limited vs full containment here.
Use The Right PPE
Gloves, goggles, and respiratory protection are non-negotiable. For small jobs, an N95 is the minimum. As size and risk grow, move to a half-face elastomeric respirator with P100 filters, or powered air-purifying respirators. Wear disposable coveralls if you’ll be crawling or disturbing lots of material. NC State’s indoor air quality program gives solid practical tips on PPE and HEPA cleanup here.
Remove What Cannot Be Cleaned
Laminate planks and foam underlayments are generally porous or semi-porous and rarely worth saving after mold growth. Unlock the planks in the contained area and bag them before carrying them out. Pull and discard the underlayment. If you see mold staining on the top of a wood subfloor or the surface of a concrete slab, you’re not done. HEPA vacuum surfaces to remove loose spores, then clean with a detergent solution and mechanical agitation. On wood, a light sanding or wire brushing may be needed to remove growth that’s anchored to fibers. On concrete, scrub and rinse, then HEPA vacuum again once dry. Avoid bleach on porous materials. The goal is removal, not perfume.
Run Negative Air And HEPA Filtration
During demo and cleaning, run a negative air machine exhausting outside the structure to keep the work zone under negative pressure. In smaller spaces where full exhaust is tricky, use HEPA air scrubbers inside containment to control airborne particles. After cleaning, keep filtration running while materials dry.
Dry The Subfloor Thoroughly
All the cleaning in the world won’t matter if the substrate stays wet. This is where subfloor moisture targets earn their keep. Keep reading for exact numbers and the tests to verify them before you reinstall flooring.
Subfloor Drying Targets
Rebuilding over a damp substrate is a one-way ticket to repeat problems. Hit the correct targets and document them before you reinstall anything.
For wood subfloors, use a pin-type wood moisture meter and get repeatable readings across the area. Most laminate manufacturers want the wood subfloor at or below roughly 12 percent moisture content before installation. Some brands specify 10 to 12 percent or set a limit on the difference between the subfloor and the laminate itself of 2 to 4 percent. Flooring trade sources summarize these ranges well, including Floor Covering News and FlooringMaestro.
For concrete slabs, use standardized tests, not guesswork:
- ASTM F2170 in-situ RH testing. Place relative humidity probes in holes drilled to 40 percent of the slab depth and allow them to equilibrate per the standard. A common threshold for laminate is 75 percent RH or lower.
- ASTM F1869 calcium chloride testing. This measures moisture vapor emission rate. Many laminate instructions cite 3 lbs per 1,000 sq ft per 24 hours as the limit.
One more thing that bites a lot of DIY installs: acclimation. If you’re installing new laminate over a wood subfloor, store the product in the space to let it adjust to temperature and humidity per the manufacturer’s instructions. Skipping acclimation can create gapping, peaking, or edge swell that looks suspiciously like moisture failure.
Prevent It From Returning
Mold under laminate is a moisture problem first and a cleaning problem second. Once you’ve removed the damaged material and dried the subfloor to target levels, lock in upgrades that make future growth a lot less likely.
Control Indoor Humidity
Keep indoor relative humidity in the sweet spot. Austin Hi-Tech’s guidance on humidity’s role in water damage recommends staying roughly between 30 and 50 percent indoors, often landing near 40 to 50 percent as a practical target. Use your HVAC in dehumidification mode, add a properly sized dehumidifier in humid seasons, and avoid running humidifiers near laminate floors.
Ventilate The Right Spots
Bathrooms, laundry rooms, and kitchens pump moisture into the air. Vent bath fans and range hoods to the exterior, not into the attic or crawlspace. Run fans longer after showers, and keep doors open to let conditioned air do its thing. In basements, consider a continuous dehumidifier and check corners where cool surfaces meet warm moist air.
Block Moisture From Below
On slabs, use a laminate-approved underlayment with an integrated vapor retarder. Many products specify a Class I or II vapor retarder equivalent for concrete installations. Seal seams per the manufacturer’s instructions. For wood subfloors over crawlspaces, ensure there’s an intact ground vapor barrier and that crawlspace drainage is correct. If you’re on a perimeter foundation, check that foundation vents or conditioned-crawl strategies are working as designed.
Fix Exterior Water Paths
Water that pools by your foundation will find its way under your floors like a raccoon finds your trash. Regrade landscaping to slope away, extend downspouts, and keep gutters clean. Austin Hi-Tech explains why yard grading matters for moisture control here.
Seal The Easy Entry Points
Use high quality sealant at tub surrounds, showers, laundry hookups, and along transitions at exterior doors. Don’t caulk expansion gaps under baseboards unless the product allows it, but do make sure splash-prone transitions are sealed per the manufacturer’s detail. Add drip pans under fridges and washers. Install leak sensors and auto-shutoff valves if your home has a history of surprise water events. They’re cheaper than a new floor.
Product And Material Tips
If you’re reinstalling after remediation, choose materials that forgive mistakes. Moisture-resistant underlayments with taped seams are a big upgrade over bargain foam. Some laminates use tighter locking systems and waxed or treated edges to slow edge swell. Follow the manufacturer’s required vapor retarder on slabs and their exact tolerances for subfloor moisture and flatness. Resist the urge to mix and match installation shortcuts from internet forums. The warranty will not be impressed.
DIY Or Call The Pros?
If the affected area is small, the water source was clean, and you’re confident with safe setup and careful removal, you might handle a spot repair. Still, stick to PPE, bag debris in the work area, and verify the subfloor is dry to the numbers listed below before reinstalling anything. If the project involves multiple rooms, recurring moisture, structural damage, HVAC contamination, or anyone in the home is mold-sensitive, bring in a certified remediation contractor. You want someone who can set proper containment, manage negative pressure, document moisture targets, and stand behind the work.
Quick Reference Targets
| Item | Target | Reference |
|---|---|---|
| Wood subfloor moisture | ≤ 12 percent MC | FlooringMaestro |
| Concrete slab RH (F2170) | ≤ 75 percent RH | BuildDirect |
| Concrete MVER (F1869) | ≤ 3 lbs/1,000 sq ft/24 hr | BuildDirect |
| Indoor RH typical | 30 to 50 percent | Austin Hi-Tech |
| Containment size guide | Limited 10-100 sq ft, full if larger | EPA |
Testing Tools That Actually Help
Buy or borrow a decent non-invasive moisture meter for quick scans and a pin-type meter for confirming wood moisture. For concrete, hire a flooring pro to run ASTM F2170 or F1869 if you don’t have the gear. A hygrometer to track indoor RH is cheap insurance. If numbers make your eyes cross, hand the data logging to your contractor. The goal is simple: prove it’s dry, then build it back.
Remediation Mistakes To Avoid
There are a few greatest hits that keep us in business. Don’t spray-and-pray with bleach on subfloors, then reinstall flooring over damp wood. Don’t set a box fan at the doorway and blow spores into the rest of the house. Don’t skip containment because the area “doesn’t look that bad.” Don’t rely on odor going away as proof you fixed the problem. The only thing that counts is removal, cleaning, and verified dry subfloors at or below target moisture.
What If You Have A Concrete Slab?
Slabs can push moisture up into flooring even without a leak. That’s why vapor retarders under the floor are mandatory by most laminate manufacturers when installing over concrete. If the slab fails RH or MVER tests, consider a manufacturer-approved topical moisture mitigation system before reinstall. Sometimes an epoxy-based moisture vapor barrier is the only way to tame a thirsty slab. Always check compatibility with your specific laminate system and follow the prep instructions to the letter.
What If You Have A Crawlspace?
A damp crawlspace will feed subfloor moisture until the end of time. Check that the ground is covered with an intact vapor barrier, that bulk water is not entering, and that perimeter vents or conditioned-crawl strategies are doing what they’re supposed to. If your crawlspace smells like low tide, fix that before you invest in a new floor.
Maintenance And Monitoring
Set your dehumidifier to 45 to 50 percent RH during humid months. Keep a cheap hygrometer near the problem room and check it when weather shifts. Every few months, take a couple of quick moisture readings at known cold spots or along exterior walls. Document readings and act fast if numbers climb. The earlier you catch a leak or vapor problem, the less you throw in the dumpster.
FAQ
Can I clean mold under my laminate with bleach?
Bleach is for hard, non-porous surfaces. Laminate and underlayments are usually porous or semi-porous, and bleach doesn’t fix the moisture source. The standard approach is removal of contaminated porous materials, HEPA vacuuming, detergent cleaning, and drying to target levels. Save bleach for tile grout and non-porous trim, and even then, a detergent and physical removal is preferred.
Do I have to replace the subfloor?
Not always. If a wood subfloor is structurally sound and you can clean and dry it to ≤ 12 percent MC, it usually stays. If it’s delaminated, crumbling, or the mold has penetrated deeply, replace affected sections. Concrete nearly always stays, but it must be cleaned and pass RH or MVER tests before you cover it again.
Will insurance cover mold under my flooring?
Coverage depends on your policy and the cause. Sudden and accidental water damage is often covered, while long-term seepage or maintenance issues often are not. Document everything, stop the source, and call your carrier. I restore houses, not policies, so your adjuster is the final word.
How long does drying take?
With proper dehumidification and airflow, a wet wood subfloor can dry in several days to a couple of weeks, depending on temperature, starting moisture, and how much material you removed. Concrete moisture problems tied to vapor drive are not a simple “wait it out” situation. You need proper slab testing to know when you’re ready to reinstall.
When should I bring in a professional?
If the affected area is larger than about 10 square feet, crosses multiple rooms, involves HVAC, or there are any health sensitivities in the home, call a qualified remediation contractor. If you’re not set up for safe containment and negative air, that’s your sign too. You want cleaning, drying, and documentation that meet industry standards, not a do-over next season.
Need A Pro Who Speaks Mold And Flooring?
If your laminate is whispering sweet nothings that smell like a locker room, we can help you shut it up properly. We set up containment, run negative air, remove what cannot be cleaned, and dry subfloors to target numbers. Then we help you upgrade ventilation and vapor control so you don’t have to meet us again next year. If you’d like a deeper primer on drying strategy after water exposure, check our guide on how to dry out your home after a flood, and for everyday control, see our take on humidity management. When you’re ready, we’ll bring the HEPA, the meters, and the attitude that mold hates.