
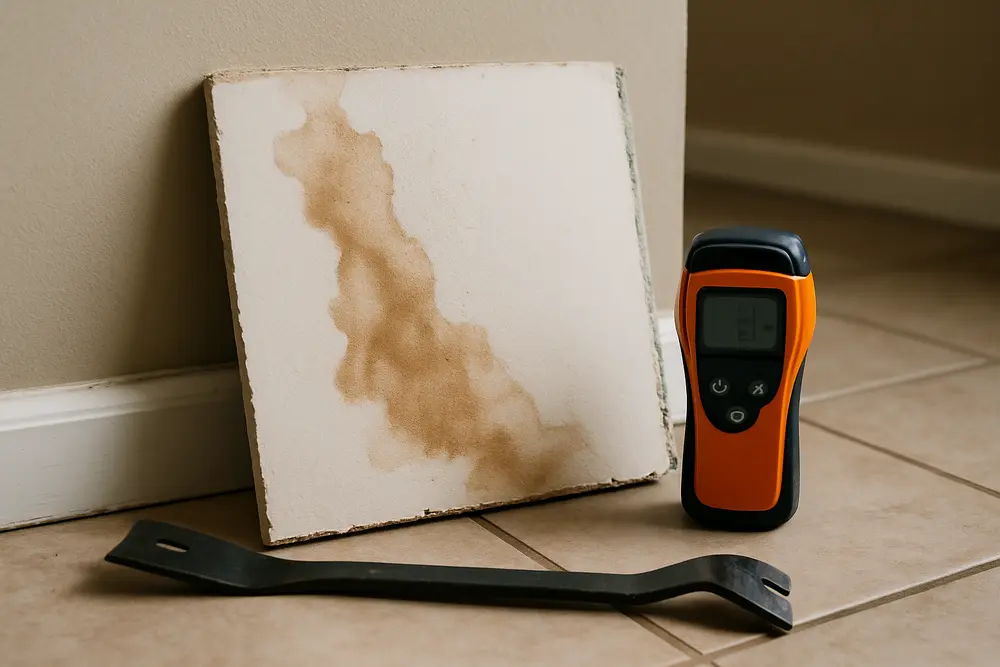
Your ceiling water damage repair cost can range from about $250 for a dry stain with no remaining moisture to $12,000 or more when contaminated water affects several rooms. A clean-water leak caught quickly may stay near $500 to $1,500. Once insulation removal and ceiling replacement enter the picture, a more realistic planning range is $2,500 to $7,500.
The stain size won’t tell you which budget applies. Contamination and drywall condition decide the scope. Plumbing or roof work is usually a separate charge, too. That’s why a neat national average can give you a very wrong idea of what your ceiling actually needs.
Typical Repair Budgets
Planning by scenario is more useful than multiplying the visible stain by a square-foot price. The ranges below are examples, with service minimums often affecting small projects.
| Ceiling Condition | Illustrative Budget |
|---|---|
| Dry stain with the source fixed and no elevated moisture | $250 to $750 |
| Localized clean-water leak dried without major removal | $500 to $1,500 |
| Small section requiring drywall removal and replacement | $1,000 to $3,000 |
| Larger area with wet insulation and repainting | $2,500 to $7,500 |
| Contaminated water or multiple affected rooms | $4,000 to $12,000 or more |
A common middle-range project includes controlled drying and finish repairs. The charge for fixing a pipe or repairing storm damage may appear on another estimate. Ask about that separation before comparing totals because a low mitigation proposal can look attractive when it simply excludes half the work.
Why Square-Foot Pricing Misleads
A ten-square-foot stain can hide a much larger wet area above the ceiling. Water may travel along a joist before showing through one seam, and a contractor still has setup costs for a small patch. Texture matching can push painting across the entire ceiling even when only one panel was opened. High ceilings also require safer access and more labor, which has nothing to do with the stain’s measured area.
Drying or Demolition?
The largest budget decision is whether the ceiling assembly can be dried in place. According to the EPA guidance for wet materials, the first 24 to 48 hours matter because prompt drying reduces the potential for mold growth. That window is useful, but it isn’t an automatic demolition deadline.
When Drying May Work
Drying is plausible when relatively clean water reached drywall that remains flat and firm. The cavity must be accessible, and moisture readings should show steady progress. The EPA’s water-damage response guidance notes that wallboard may sometimes be dried in place if it hasn’t swollen and its seams remain intact.
When Removal Makes Sense
Sagging drywall has already lost strength. Swelling around seams or fasteners is another bad sign, as is paper facing that has separated from the gypsum core. Contaminated drywall usually calls for a more cautious removal plan even when the leak is recent.
A stained panel doesn’t automatically need replacement, and a clean-looking panel isn’t automatically dry. Moisture readings plus a physical inspection carry more weight than color. Paying for demolition without checking is wasteful, but trying to save soft drywall is false economy.
Ceiling Water Damage Repair Cost Factors
Moisture assessment and mapping commonly fall around $150 to $500. Small-area drying may run $500 to $1,500, while difficult cavity drying can reach $3,500 or more. Controlled access may add $150 to $600. Vaulted ceilings or cramped attics can push access beyond $1,500 because crews need more time and specialized setup.
The finish work often surprises owners. Ceiling drywall installation with finishing may run roughly $4 to $10 per square foot, subject to minimum charges. Room-scale stain-blocking primer and paint may add $300 to $900. Those figures don’t necessarily include insulation or source repair, so make sure each estimate describes the same finished result.
How Contamination Changes the Bill
A recently broken supply line may begin as relatively clean water. An overflowing dishwasher is different because the water can carry detergent and food residue. Sewage contact changes the job substantially because porous materials are harder to justify keeping.
Roof water shouldn’t be casually labeled clean. It can pick up dirt or roofing residue before reaching your insulation. Proper handling may require containment and added disposal work, which can add hundreds or thousands of dollars depending on the area involved.
The IICRC S500 water restoration standard provides the industry framework for evaluating water category and material restoration. You don’t need to memorize category labels. You do need the estimator to identify the source and explain how it changes removal decisions.
Access Can Outprice the Stain
Two identical ceiling spots can produce very different invoices. Easy attic access may allow inspection from above with only a small opening below. A finished room over the leak can force access through the ceiling, followed by a larger patch and more finish work.
Fixtures create another cost wrinkle. Recessed lights may block airflow or complicate demolition, while a tall vaulted ceiling can require staging. If the leak followed severe weather, a separate storm damage assessment may be needed to deal with the roof or exterior opening before indoor drying can succeed.
Insulation Adds Hidden Work
Wet insulation can hold water against the back of the drywall while slowing airflow through the cavity. It also adds weight above a panel that may already be weakening. A ceiling can look merely stained from below while the insulation above remains saturated.
Removal and replacement commonly run around $1.50 to $5 per square foot. The exact cost depends heavily on access and insulation type. Blown insulation is handled differently from intact batts, and contamination can rule out reuse.
Not every piece of fiberglass must be thrown away. Material condition and the ability to dry it thoroughly should control that decision. Blanket promises to save all insulation are just as suspicious as blanket demands to discard all of it.
Before-and-after pricing makes the effect clear. A reachable cavity with dry insulation may need equipment and monitoring. The same cavity with soaked insulation needs removal, debris handling, drying, and later replacement. That hidden layer can move the job into an entirely different budget.
Wet Ceiling Drywall Replacement Cost
The wet ceiling drywall replacement cost includes more than a sheet of gypsum board. Removal and disposal may run about $2 to $5 per square foot, often with a $300 to $800 minimum. New ceiling drywall with finishing and texture commonly adds about $4 to $10 per square foot, again subject to project minimums.
Say you have a 20-square-foot patch in the middle of an older textured ceiling. The patch can be small, yet the visible finish transition may require painting the whole ceiling plane. Daylight across the surface has a cruel way of showing every sheen difference and texture mismatch.
A realistic replacement estimate should carry the job through texture, stain-blocking primer, and paint. If it stops at hanging drywall, you’re looking at an unfinished scope. Local water damage repair services should also separate mitigation from plumbing or roofing charges so you can see what each trade is covering.
Delays That Create a Second Bill
Premature repainting is one of the most avoidable expenses. Paint doesn’t remove moisture from insulation or framing. If the stain returns or the coating blisters, you’ve paid once for cosmetic work and will pay again after the assembly is actually dried.
Waiting for visible mold is another poor strategy. Moisture can remain above painted drywall without announcing itself in the room. By the time growth or odor becomes obvious, the affected area may be harder to dry and more expensive to open.
A small stain can also encourage the wrong kind of patience. Water may spread along pipes or seams before it finds a place to show. Moisture mapping early in the process can define the wet area while drying is still practical.
Scheduling texture and paint before drying is documented closes the assembly too soon. An active leak makes the whole effort worse because no amount of dehumidification can outrun new water. Source control comes first.
What Your Estimate Should Show
A useful estimate explains the decisions behind the total. If two proposals differ by several thousand dollars, compare scope before assuming one contractor is overpriced.
- The moisture readings and affected area
- The expected drying period and monitoring visits
- The amount of drywall being removed
- The plan for wet insulation
- The included texture and paint area
- Any excluded plumbing or roof repair
Documentation matters when insurance may apply. Photographs and moisture readings should generally be collected before demolition when conditions permit. Emergency safety work shouldn’t wait for perfect paperwork, particularly when a ceiling is sagging or water is near electrical fixtures.
When the Ceiling Is Unsafe
A bulging ceiling can release wet drywall and insulation with little warning. Keep people out of the area and don’t poke the bulge from underneath. Avoid using nearby lights or fans if water may have reached electrical components, and get qualified emergency help when collapse or electrical hazards are possible.
Measure Before You Paint
The best time to control your budget is before anyone covers the stain. Stop the source, map the moisture, and decide whether the drywall is still sound. Once those facts are known, drying and replacement estimates become much easier to compare.
The one thing that matters most is moisture verification. Don’t approve primer, texture, or paint until readings show the ceiling assembly has dried. That single checkpoint does more to control your ceiling water damage repair cost than shopping for the cheapest gallon of paint ever will.
References
- Mold Cleanup in Your Home (epa.gov)
- Mold Remediation in Schools and Commercial Buildings Guide: Chapter 4 (epa.gov)
- S500 (iicrc.org)